7 Simple Steps to Effectively Fix Broken Motorcycle Plastics
7 Simple Steps to Effectively Fix Broken Motorcycle Plastics
- Introduction
- Required Materials
- Step-by-Step Guide to Fixing Motorcycle Plastics
- Tips for Success
- Common Mistakes to Avoid
- Frequently Asked Questions
- Conclusion
Introduction
Picture yourself ready to hit the road, but the sight of broken motorcycle plastics dampens your excitement. Whether it’s a cracked fender or shattered fairing, motorcycle plastics can easily become damaged. Many riders face this challenge, often feeling overwhelmed about how to restore their motorcycle’s look and function. Fortunately, there are straightforward solutions to fix these issues, ensuring you can keep enjoying your rides. Let’s dive into how you can restore your motorcycle’s former glory!
Required Materials
Before you start your repair journey, gather the following items:
- Epoxy resin or plastic welding kit
- Sandpaper (various grits)
- Utility knife or scissors
- Clamps or tape for holding pieces together
- Paint or plastic adhesive for finishing touches
Having these materials on hand will make the repair process smoother and more effective.
Step-by-Step Guide to Fixing Motorcycle Plastics
Follow these simple steps to repair your motorcycle plastics.
1. Assess the Damage
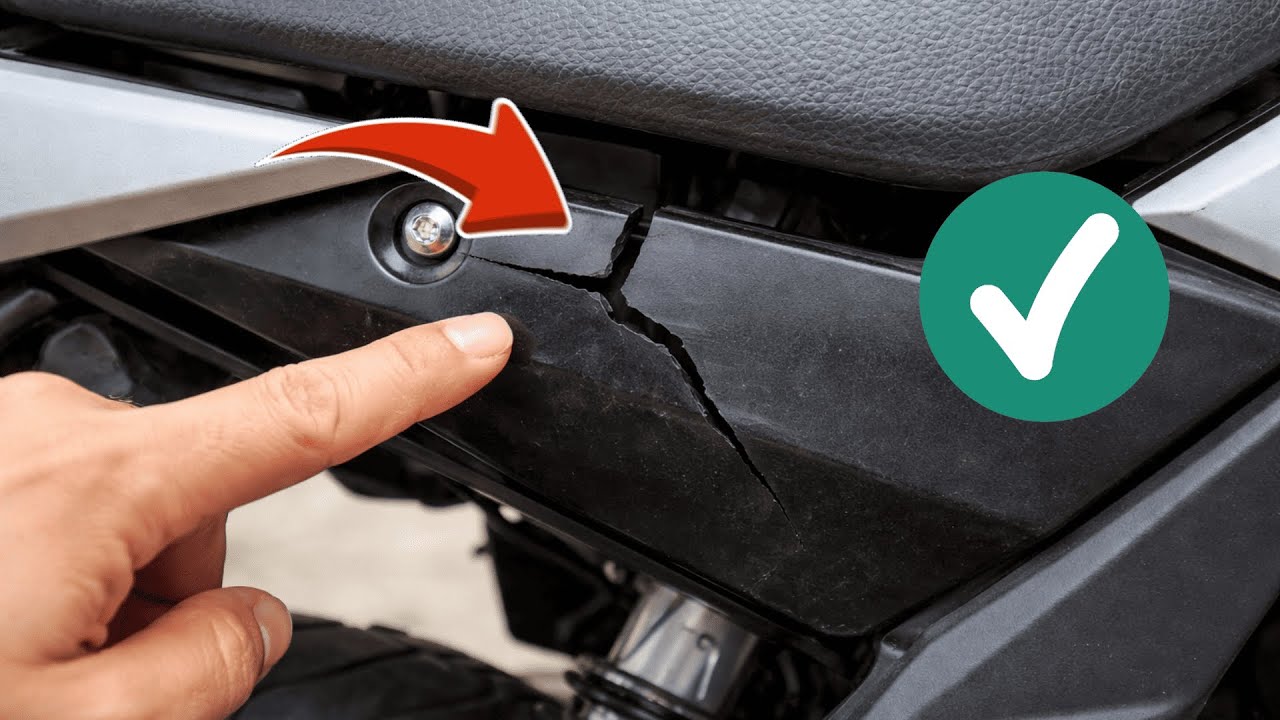
Begin by examining the extent of the break. Look for any missing pieces that need replacement. Understanding the damage is crucial for planning your repair.
2. Clean the Area
Use soap and water to clean the cracked or broken area thoroughly. Ensure no dirt or grease is present, as it might interfere with the adhesive’s effectiveness.
3. Prepare the Surface
Use sandpaper to smooth the edges around the crack. This creates a better surface for the epoxy or adhesive to bond to.
4. Apply the Adhesive
Mix your epoxy resin according to the manufacturer’s instructions. Carefully apply it to the damaged area, ensuring it fills the crack completely.
5. Secure the Pieces
Use clamps or tape to hold the area together while the epoxy cures. Check the instructions for the recommended drying time.
6. Sand and Smooth
Once the adhesive has cured, sand the repaired area gently until it’s smooth and even with the surrounding surface.
7. Final Touches
If necessary, apply paint or touch-up markers to match the color of your motorcycle. This helps to restore the appearance, making the repair less noticeable.
Tips for Success
For the best results, keep these tips in mind:
- Always follow the manufacturer’s instructions for any products used.
- Work in a well-ventilated area to avoid fumes from the adhesive.
- Test the paint on a small section first to ensure color matching.
Common Mistakes to Avoid
When repairing motorcycle plastics, avoid these common pitfalls:
- Skipping the cleaning step: Dirt can prevent proper adhesion.
- Using incorrect adhesive: Ensure your choice is suitable for plastics.
- Not allowing enough drying time: Rushing this step can weaken the bond.
- Assuming all plastics can be repaired with the same method: Different damages may require unique approaches.
Frequently Asked Questions
What type of adhesive is best for motorcycle plastics?
Epoxy resin is generally the best choice as it provides a strong bond and flexibility.
Can I paint over repaired motorcycle plastics?
Yes, once the adhesive has fully cured, you can paint over the repair for a seamless look.
How can I prevent future damage to my motorcycle plastics?
Regularly check and maintain your motorcycle, and consider installing protective guards.
Conclusion
Fixing broken motorcycle plastics can be a simple and rewarding process when you have the right materials and follow the steps correctly. Take your time, and don’t hesitate to ask for help if needed. What have you learned about fixing your motorcycle today? Please share your thoughts in the comments below!