Fix Broken Plastic in 5 Easy Steps: Discover This Simple DIY Solution Today!
Fix Broken Plastic in 5 Easy Steps: A Simple DIY Solution
Introduction
Have you ever faced the frustration of a broken plastic item that you thought was beyond repair? Whether it’s a cherished toy, a useful kitchen gadget, or an outdoor chair, finding a way to fix it might seem daunting. Many people assume that once plastic is broken, it’s destined for the trash. However, with a little guidance, you can bring it back to life. Read on to discover a practical approach to fixing broken plastic items effectively.
Required Materials
Before you dive into the repair process, gather the necessary materials. Having these at hand will make your project smoother and more enjoyable.
- Epoxy adhesive or a specialized plastic glue
- Sandpaper (medium and fine grit)
- Scissors or a utility knife
- Cloth for cleaning
- Clamps or tape for holding pieces in place
Step-by-Step Guide
Repairing broken plastic can be done in just a few steps. This guide will walk you through the process, ensuring you know exactly what to do.
1. Clean the Surface
- Begin by thoroughly cleaning the broken surfaces. Use a cloth to remove any dirt or grease.
- If needed, use sandpaper to gently roughen the edges. This helps the adhesive bond better.
2. Prepare the Adhesive
Depending on your adhesive choice, follow the instructions for mixing or preparing it. Always ensure you’re using it in a well-ventilated area.
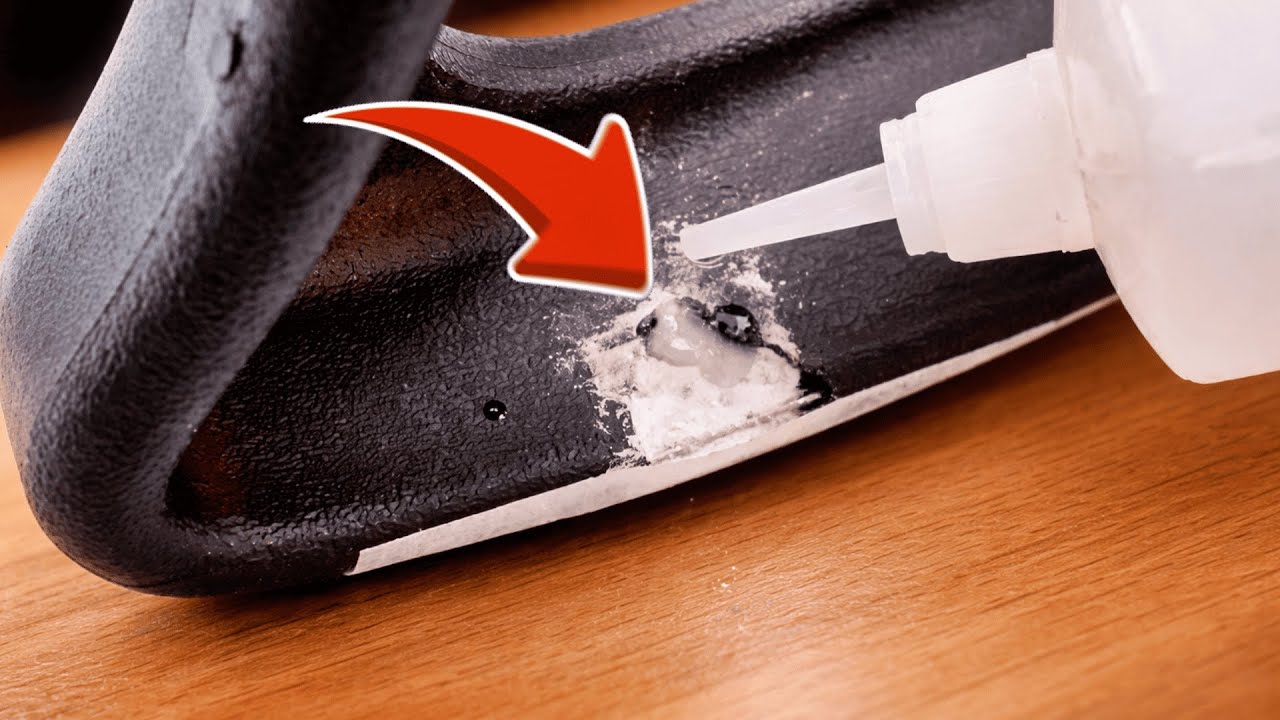
3. Apply Adhesive
- Apply a generous amount of adhesive to one broken piece.
- Carefully press the pieces together, ensuring they fit snugly.
4. Secure the Repair
To ensure the repair holds, use clamps or tape to keep the pieces together as the adhesive cures. Refer to the adhesive guidelines for the recommended curing time.
5. Final Touches
Once the adhesive has fully set, use sandpaper to smooth any rough edges. If desired, you can also paint over the repair to blend it in with the original surface.
Common Mistakes
When it comes to fixing broken plastic, avoiding certain pitfalls can make a significant difference in the quality of your repair. Here are some common mistakes to be aware of:
- Not cleaning the surfaces properly can lead to weak bonds.
- Using too much or too little adhesive may result in an unsuccessful repair.
- Neglecting to secure the pieces during the curing process can cause them to shift.
- Applying a final layer of paint too soon can lead to a poor finish.
FAQ
Can all plastic items be repaired? Not all plastics are equally repairable. However, many common types can be fixed effectively with the right materials.
How long does the adhesive take to cure? The curing time depends on the adhesive used. Typically, it ranges from a few minutes to 24 hours.
Is there a way to prevent plastic from breaking? While you can’t prevent all breaks, using items with care and avoiding extreme temperatures can help extend their lifespan.
Conclusion
Repairing broken plastic is a practical skill that can save you time and money. By following these steps, you can bring your favorite items back to life. Which broken plastic item will you try to fix first? Your thoughts and experiences are welcome in the comments!