Transform 1 Cracked Plastic Box into a Durable Storage Solution with This Easy Repair Trick!
Transform a Cracked Plastic Box into a Durable Storage Solution with This Easy Repair Trick
Introduction
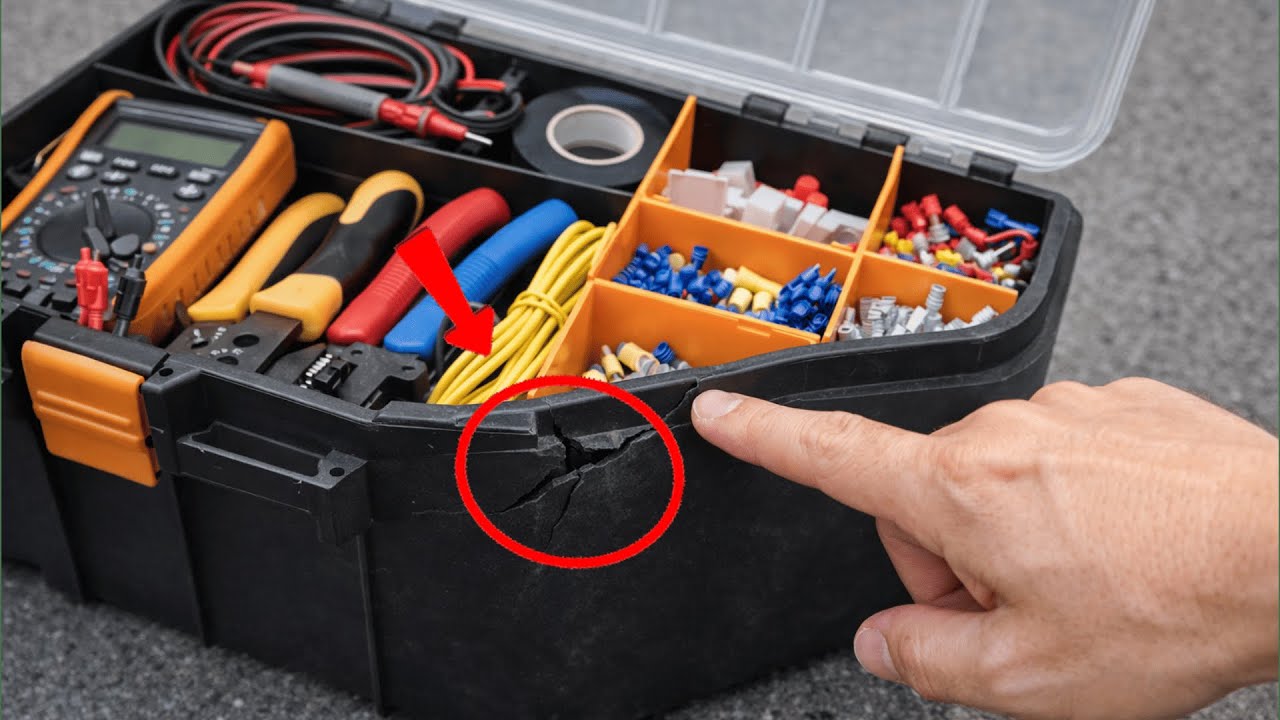
Have you ever noticed a crack in your favorite plastic storage box? It can be frustrating to see an item that was once so functional now teetering on the edge of unusable. You may wonder if it’s possible to salvage it or if it’s time for a trip to the recycling bin. Fortunately, there’s an easy repair trick that can help restore your box back to its former glory. Keep reading to discover how you can transform that cracked plastic box into a durable storage solution.
Gather Your Materials
Before diving into the repair process, it’s crucial to have all your materials ready. Here’s what you’ll need:
- Plastic adhesive: A strong adhesive specifically designed for plastic will ensure a secure bond.
- Clamps or rubber bands: These will help hold the cracked sections together while the adhesive sets.
- Sandpaper: To create a smooth surface for the adhesive.
- Clean cloth: For cleaning the area around the crack.
By gathering these simple items, you’ll be well prepared to tackle the repair project.
Repair Process Explained
Now that you have your materials ready, it’s time to begin the repair process. Follow these steps for the best results:
Step 1: Clean the Area
Ensure the area around the crack is free of dirt and debris. Use a clean cloth to wipe down the surface, allowing for better adhesion.
Step 2: Prepare the Crack
Use sandpaper to gently roughen the edges of the crack. This will promote better bonding between the surfaces. Be careful not to over-sand, as you only want to create a textured surface.
Step 3: Apply the Adhesive
Follow the instructions on your plastic adhesive. Generally, you’ll want to apply it generously along the crack in a thin layer, ensuring it fills the gap. Make sure to use enough but avoid excess that might ooze out.
Step 4: Secure the Crack
Position the cracked sections together and use clamps or rubber bands to hold them tightly. This pressure is essential for a strong bond as the adhesive cures.
Step 5: Allow to Cure
Check the adhesive instructions for curing time. During this period, avoid moving or disturbing the box to ensure a strong hold.
Common Mistakes to Avoid
While repairing your cracked plastic box, steering clear of these common mistakes can significantly enhance your chances of success:
- Neglecting to clean: Failing to clean the area properly can result in a weak bond.
- Over-applying adhesive: Using too much adhesive may lead to messy results and longer drying times.
- Ignoring curing time: Rushing the process by using the box prematurely can cause the repair to fail.
- Choosing the wrong adhesive: Not all adhesives are suitable for plastic, so read labels carefully.
FAQ
Can I use regular super glue for this repair? While super glue can work in some cases, it may not provide the long-lasting strength needed for plastic. It’s best to use a dedicated plastic adhesive.
How long will the repair last? If done correctly, a properly adhered crack can last for years. Adhering to the adhesive’s curing instructions will ensure the best durability.
What if the crack is too large to repair? In cases where the crack compromises structural integrity, consider using creative recycling methods for your plastic box, such as turning it into a planter or organizing tool.
Conclusion
By following these simple steps, you can successfully repair a cracked plastic box and bring it back to life as a durable storage solution. Have you ever tried repairing something before? Share your experiences in the comments!