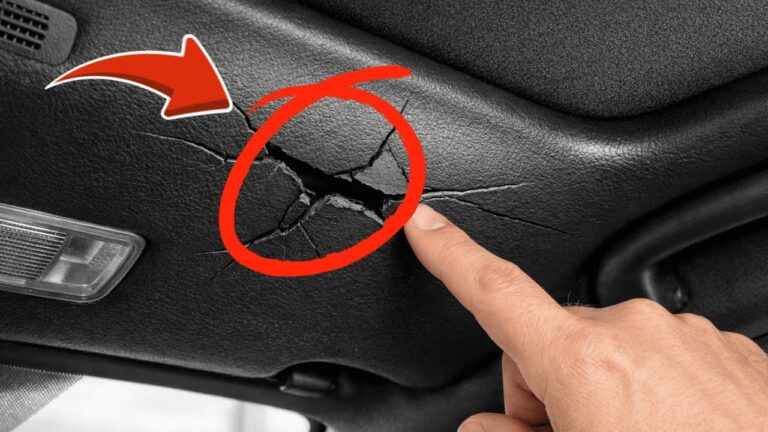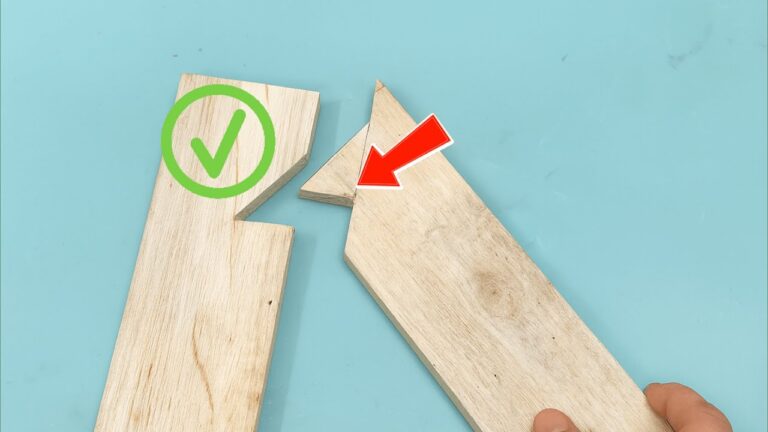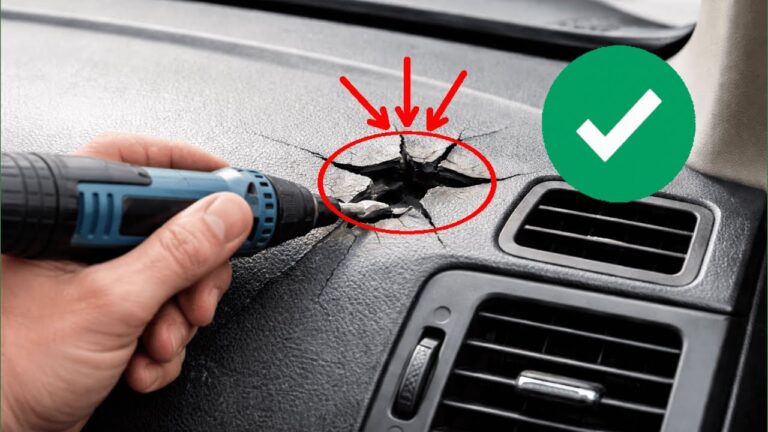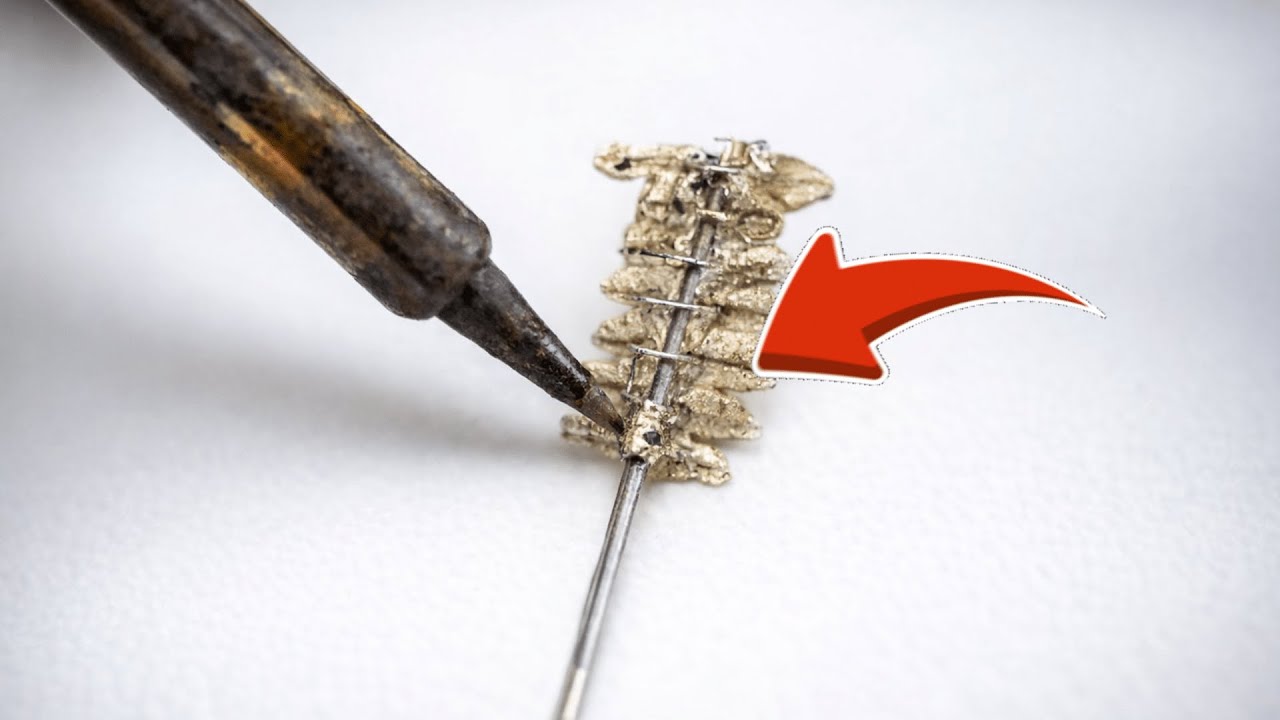
Revive 5 Broken Plastics with This Secret Welding Method! Discover How Now!
Revive Broken Plastics with This Simple Welding Method
- Introduction
- Understanding Plastic Welding
- Materials Required
- Step-by-Step Guide
- Common Mistakes to Avoid
- FAQ
- Conclusion
Introduction
Have you ever found yourself frustrated with broken plastic items around your home, from a cherished toy to a garden tool? Instead of tossing them out, it’s possible to bring them back to life using a method that’s both straightforward and effective. Many homeowners overlook this simple solution, but once you learn how to weld plastics, you can save money and reduce waste. Continue reading to discover this easy technique that could transform your broken plastics into functional items once again.
Understanding Plastic Welding
Plastic welding involves using heat to fuse pieces of plastic together, making it a practical choice for repairs. It’s important to know the types of plastics you’re dealing with, as different materials require different techniques. The most commonly welded plastics include:
- Polyethylene (PE) – Common in containers and bags.
- Polypropylene (PP) – Often found in automotive parts and medical applications.
- Polyvinyl Chloride (PVC) – Used in pipes and fittings.
When you’re ready to start, understanding the properties of these types will help you select the right method for your projects.
Materials Required
To successfully weld plastic items at home, gather the following materials:
- Plastic welder – A tool specifically designed for welding plastic that can be found at hardware stores.
- Welding rod – Made from the same type of plastic you are repairing.
- Safety gear – This includes gloves and protective eyewear to keep you safe during the process.
- Cleaning agent – Isopropyl alcohol works well for cleaning surfaces before welding.
- Work surface – A stable surface like a workbench where you can safely operate your tools.
Once you have gathered these essentials, you’re ready to dive into the process.
Step-by-Step Guide
Now, let’s go through the step-by-step process to revive your broken plastics using this welding method:
Step 1: Prepare the Surfaces
Before starting, it’s essential to clean the areas you’ll be welding.
- Use a cloth soaked in isopropyl alcohol to wipe the broken edges.
- Make sure there is no dust or debris remaining, as this can affect the quality of the weld.
Step 2: Heat the Plastic Welder
Next, you’ll need to prepare your welding tool:
- Plug in the plastic welder and allow it to reach the recommended temperature.
- Check the manufacturer’s instructions for the optimal heat settings based on the type of plastic you’re working with.
Step 3: Apply the Weld
With the welder ready, it’s time to weld:
- Begin merging the edges of the broken plastic pieces.
- Introduce the welding rod into the seam and allow it to melt into the joint.
- Maintain even pressure and a steady hand as the plastic fuses together.
Step 4: Let it Cool
Once you have completed the weld, allow it to cool completely:
- Do not disturb the welded area while it cools to ensure a solid bond.
- This may take a few minutes, so be patient.
Step 5: Finish Up
Finally, check your repair:
- Inspect the welded edge for any gaps or weaknesses.
- If necessary, apply additional welding rod to strengthen the joint.
Common Mistakes to Avoid
To ensure successful repairs, here are some common mistakes to watch out for:
- Not cleaning the surfaces properly, which can lead to weak welds.
- Using the wrong type of welding rod for the specific plastic type.
- Applying too much heat or pressure, which may damage the plastic.
- Rushing the cooling process; patience is key to a strong bond.
- Failing to wear safety gear, which is essential for your protection.
FAQ
What types of plastics can be welded? Most commonly, you can weld polyethylene, polypropylene, and PVC, but always check compatibility before starting.
Is plastic welding a permanent solution? Yes, when done correctly, plastic welding creates a durable bond that can effectively restore functionality to your items.
Do I need specialized tools for plastic welding? While a plastic welder is recommended, some household tools can work in a pinch, though they may not deliver the same results.
Conclusion
Learning how to weld broken plastics can save you time and money, while also promoting sustainability. By following the steps outlined, you can confidently repair a variety of items around your home. Have you had success with plastic repairs? Share your experiences in the comments below.