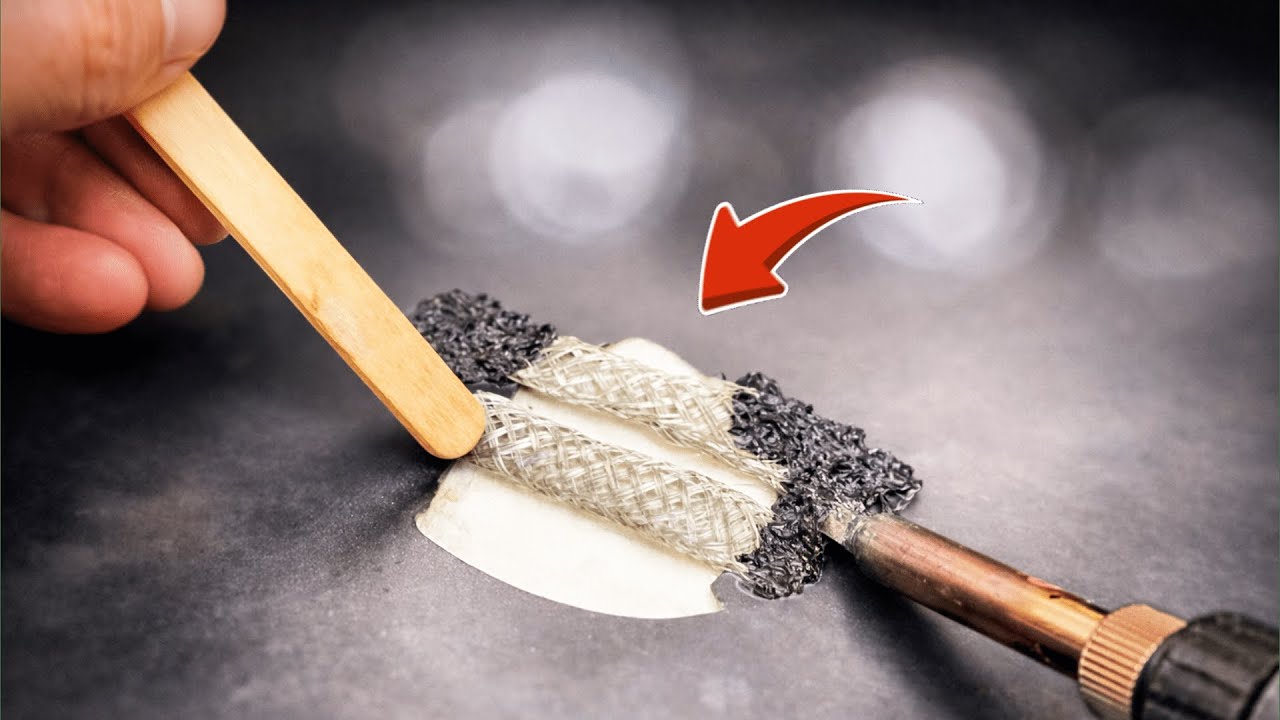
Unlock 7 Genius Plastic Repair Secrets Skilled Technicians Don’t Want You to Know!
7 Practical Plastic Repair Techniques for Everyday Solutions
- Introduction
- Common Plastic Repairs
- Effective Repair Techniques
- Common Mistakes to Avoid
- FAQ
- Conclusion
Introduction
Have you ever been frustrated by a cracked plastic item that seems beyond saving? Whether it’s your favorite garden tool, a plastic chair, or a toy, the idea of tossing it away can feel wasteful, especially when it holds sentimental value. Instead of giving up, consider learning how to repair these items at home. You may be surprised at how simple, resourceful repairs can extend the life of your cherished belongings. Let’s explore some effective plastic repair techniques that anyone can use.
Common Plastic Repairs
Plastic items can suffer damage in various ways. Understanding the types of repairs you might encounter will help you prepare for tackling them at home. Here are a few common plastic repairs you might consider:
- Cracks in garden pots or tools
- Broken handle on a storage container
- Loose parts on children’s toys
- Scratched surfaces on outdoor furniture
Identifying the Plastic Type
Before starting any repair, it’s important to identify the type of plastic involved. Look for recycling codes on the bottom of the item—knowing whether it’s polypropylene, acrylic, or PVC can guide your choice of materials and methods.
Gathering Supplies
Once you’ve identified the item, gather your repair supplies. You might need:
- Acetone or rubbing alcohol for surface preparation
- Plastic glue or epoxy for strong bonds
- Sandpaper for smoothing edges
- Clamps or tape for holding pieces together while drying
Effective Repair Techniques
Now that you’ve identified the repairs you want to tackle and gathered your materials, it’s time to delve into specific repair techniques. Here are several methods you can use to effectively mend plastic items:
1. Using Plastic Glue
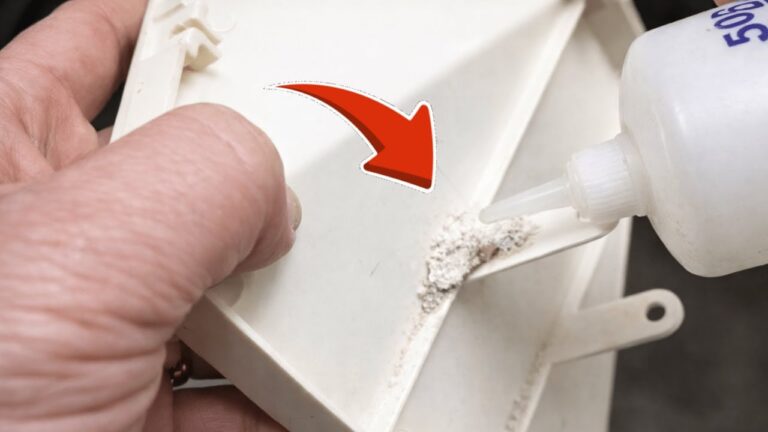
Plastic glue is specially formulated to bond plastics effectively. Follow these steps:
- Clean the surfaces with acetone to remove any dirt or oil.
- Apply a thin layer of glue evenly across one surface.
- Press the pieces together and use clamps or tape to hold them in place.
- Allow the glue to cure for the time specified on the package.
2. Employing Epoxy for Stronger Joints
If the damage involves heavy-duty items, epoxy might be your best option. Here’s how to use it:
- Prepare the epoxy according to package instructions, mixing the resin and hardener.
- Spread the mixture onto the damaged area, ensuring good coverage.
- Clamp the parts together and let it cure for the recommended duration.
3. Repairing with Heat
For some types of plastic, a heat gun can help reshape and repair. This technique is useful for melting cracks together:
- Heat the area gently with a heat gun.
- Press the cracked edges together and hold until they cool.
- Sand the seam down for a smoother finish, if necessary.
Common Mistakes to Avoid
When it comes to repairing plastic, certain missteps can hinder your efforts. Here are common mistakes to be aware of:
- Using the wrong type of glue for the plastic material.
- Skipping the surface cleaning step before applying adhesives.
- Not allowing enough curing time for the adhesive to set properly.
- Using excessive heat, which can warp the plastic.
FAQ
What types of glue work best for plastic? Plastic-specific glues and epoxies are ideal for most repairs, providing strong and durable bonds.
Can I use super glue for plastic repairs? Yes, super glue can work for some plastics, but ensure compatibility and be aware it may not be suitable for flexible plastics.
How can I make my plastic repair last? Proper surface cleaning, using the right adhesive, and allowing adequate curing time are key to making repairs durable.
Conclusion
Repairing plastic items at home can save you money and reduce waste, allowing you to keep the things you love. With these techniques, you can tackle many common plastic repairs. What items have you repaired successfully? Share your experiences in the comments!