3 Simple Steps to Fix Chipped Wood Edges Like New That Everyone Should Know!
Fix Chipped Wood Edges Like New with These Simple Steps
Introduction
Chipped wood edges can ruin the aesthetic of your beloved furniture or DIY projects. Perhaps you’ve noticed a few dings after moving a piece around or noticed they’ve suffered from everyday wear and tear. These imperfections can be frustrating, especially when you want your space to look its best. Understanding how to repair these areas can save you money and provide a rewarding sense of accomplishment. Read on to discover how to restore your wood edges effectively.
Materials Needed
Before getting started with your repairs, gather these essential materials:
- Wood filler or putty
- Putty knife
- Sandpaper (medium and fine grit)
- Wood stain (matching the existing finish)
- Clear coat finish
- Cloth for cleaning
Ensure your workspace is clear and all materials are within reach before diving into the repair process.
Step-by-Step Guide
With your materials ready, follow these steps to successfully fix the chipped wood edges:
- Clean the area: Begin by wiping down the chipped wood with a cloth to remove any dust or debris. A clean surface ensures better adhesion of the filler.
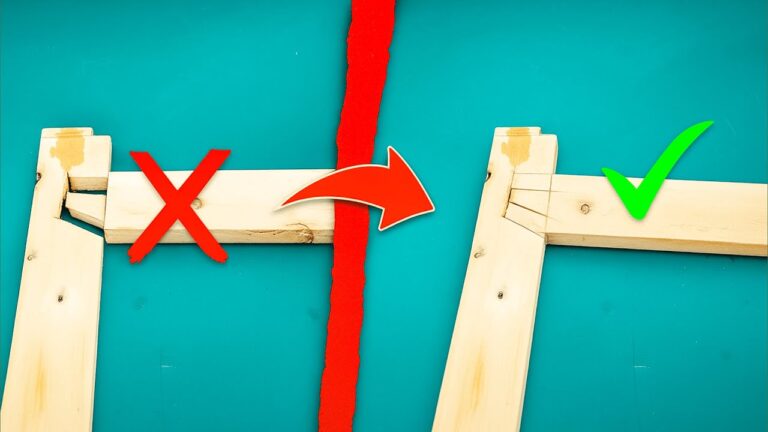
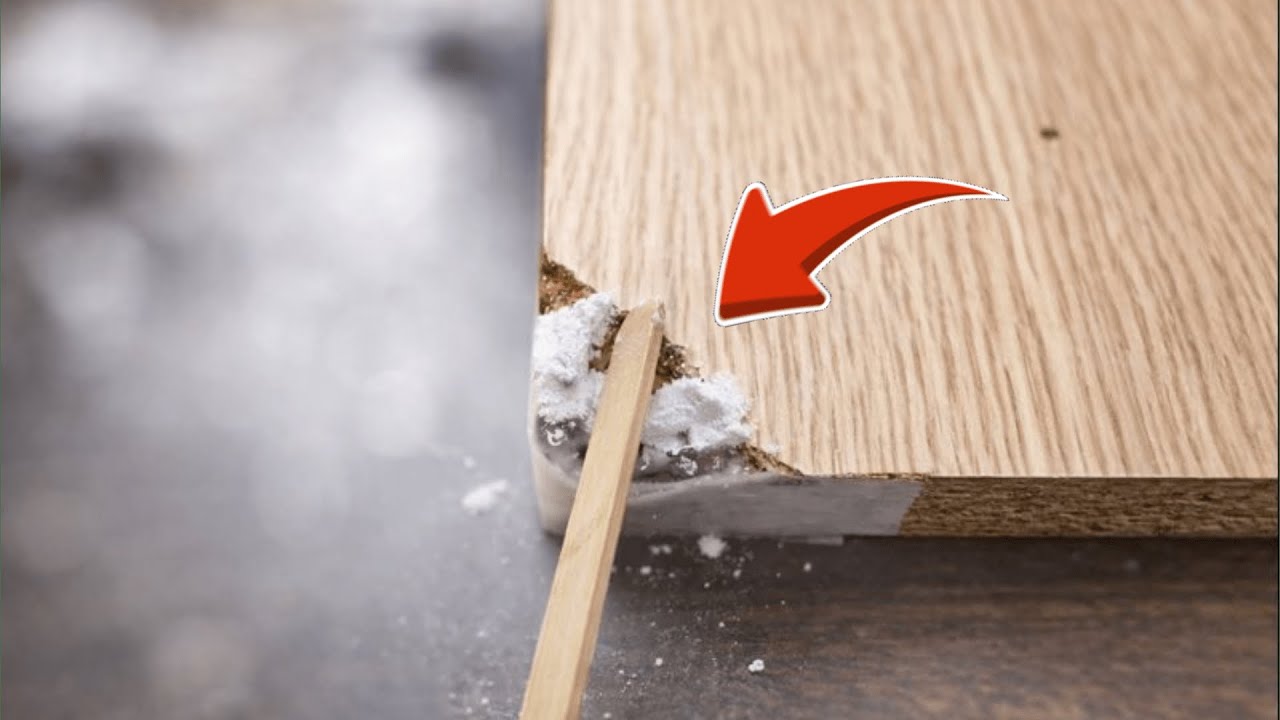
- Apply wood filler: Using your putty knife, scoop a small amount of wood filler and press it into the chipped area. Make sure it’s slightly higher than the surrounding surface to allow for sanding later.
- Let it dry: Allow the filler to dry completely. Check the manufacturer’s instructions for the recommended drying time, which is typically a few hours to overnight.
- Sand the area: Once dry, gently sand the filled area with medium grit sandpaper, smoothing it to match the surrounding wood. Follow up with fine grit sandpaper for a polished finish.
- Stain and finish: Apply wood stain, blending it with the existing finish. After it dries, seal it with a clear coat to protect the repaired area.
With these steps, your wood edges will look refreshed and new again!
Common Mistakes to Avoid
Here are some pitfalls to be mindful of as you repair your chipped wood edges:
- Using too much wood filler can lead to uneven surfaces, so apply it in layers if necessary.
- Skipping the sanding step may leave rough edges, making the repair obvious.
- Rushing the drying time can cause the filler to shrink or crack.
- Choosing the wrong color of wood stain can lead to mismatched finishes, so test it on an inconspicuous area first.
- Neglecting to clean the area before applying filler can prevent it from adhering properly.
FAQ
What type of wood filler should I use?
Choose a wood filler that matches the type of wood you’re repairing, as different fillers cater to different wood types and finishes.
How long does wood filler need to dry?
Drying times can vary based on the product, but typically wood fillers take between 1 to 8 hours to dry completely. Always follow the instructions on the package.
Can I paint over wood filler?
Yes, wood filler can be painted or stained once it has dried and been sanded smooth, allowing for a seamless blend with the surrounding wood.
Conclusion
Repairing chipped wood edges is straightforward with the right materials and steps. By following this guide, you can ensure your furniture looks its best and lasts longer. What DIY repairs have you tackled recently? Share your experiences in the comments!