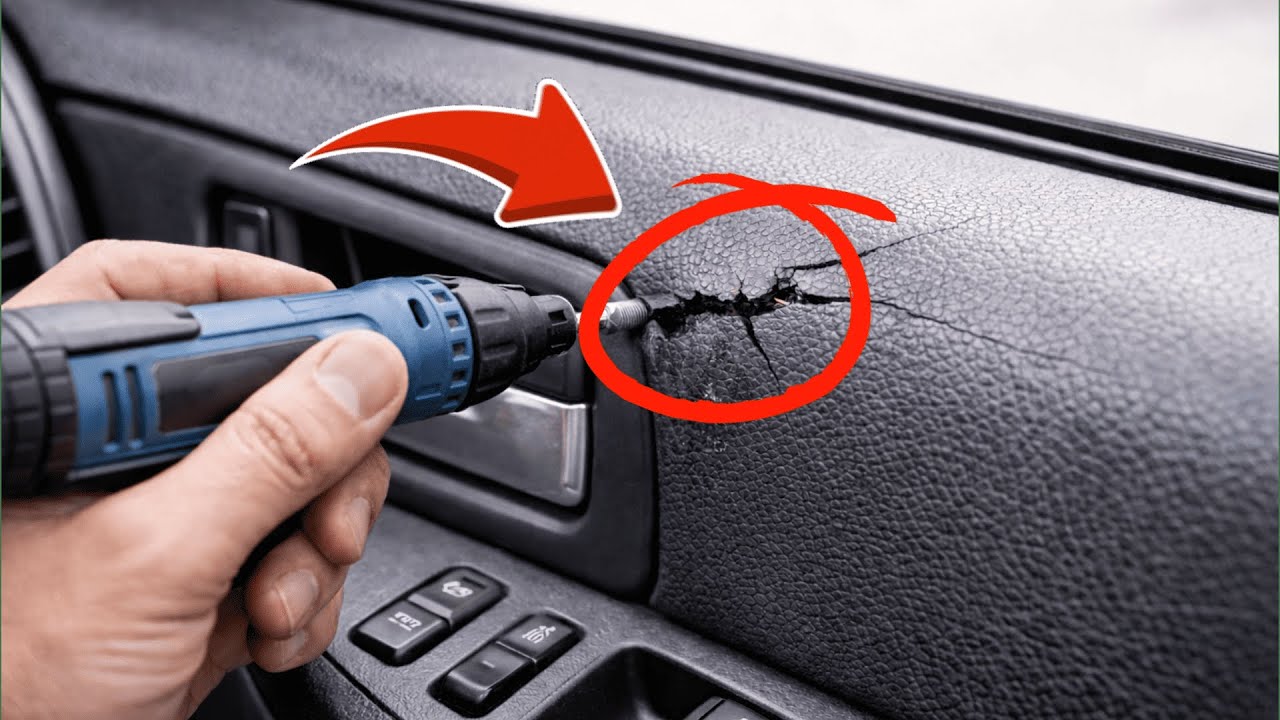
5 Proven Tips to Permanently Fix Your Cracked Car Dashboard Today
5 Expert Tips to Fix Your Cracked Car Dashboard Permanently
- Understanding the Problem
- Needed Materials
- Step-by-Step Guide
- Common Mistakes to Avoid
- Frequently Asked Questions
Understanding the Problem
Many car owners face the frustration of a cracked dashboard, which can detract from both aesthetics and functionality. Over time, exposure to sunlight, extreme temperatures, and regular wear and tear can lead to unsightly cracks. It’s a common issue that not only impacts your vehicle’s appearance but can also affect its resale value. As you consider solutions, keep in mind the importance of addressing the problem effectively to avoid further damage. Let’s explore how to tackle this issue head-on.
Needed Materials
Before getting started, gather the following materials that will help you restore your dashboard:
- Dashboard repair kit (including filler and adhesive)
- Sandpaper (in various grits)
- Paint or vinyl dye (matching your dashboard color)
- Cleaning cloths
- Masking tape
In addition, ensure you have a well-ventilated workspace, as some materials may emit strong fumes. Once you have everything ready, you can start the repair process.
Step-by-Step Guide
Repairing a cracked dashboard doesn’t have to be intimidating. Follow these steps to achieve a successful fix:
1. Clean the Dashboard
Begin by preparing the cracked area:
- Remove any dust or debris from the dashboard using a cleaning cloth.
- If there are any grease stains, use a mild cleaner to remove them.
- Allow the surface to dry completely before moving on.
2. Prepare the Cracks
Next, make the cracks ready for repairs:
- Using sandpaper, gently sand the edges of the crack to remove any loose material.
- Wipe away the dust with a clean cloth.
- Apply masking tape around the area to protect adjacent surfaces.
3. Apply the Repair Filler
Now it’s time to fill the cracks:
- Squeeze the repair filler from your kit into the crack, ensuring it’s filled completely.
- Use a spatula or your finger to smooth the surface, removing any excess filler.
- Let the filler cure according to the instructions on the package.
4. Sand and Color Match
Once the filler has set:
- Gently sand the area again to make it level with the rest of the dashboard.
- Clean the area thoroughly and apply the paint or vinyl dye to match your dashboard.
- Allow everything to dry, and remove any masking tape before the final inspection.
5. Maintain Your Dashboard
To keep your dashboard looking great:
- Regularly apply a UV protectant to shield it from sun damage.
- Avoid prolonged exposure to extreme temperatures.
- Consider using a dashboard cover for extra protection.
Common Mistakes to Avoid
When repairing a cracked dashboard, it’s easy to make small errors that could impact the outcome. Be wary of these common mistakes:
- Not cleaning the area properly, which can lead to poor adhesion of filler.
- Applying too much filler, resulting in uneven surfaces.
- Failing to match the paint or dye accurately with your dashboard, causing noticeable discrepancies.
- Rushing the drying process and risking the integrity of your repair.
- Neglecting to use protective gear when working with adhesives and paints.
Frequently Asked Questions
What is the best way to prevent dashboard cracks?
To prevent cracks, regularly apply a UV protectant, avoid leaving items on the dashboard, and use sun shades when parking.
Can I use household items for dashboard repair?
While some DIYers use household items, it’s advisable to use a dedicated dashboard repair kit for the best results.
How long does it take for the filler to cure?
Curing time can vary depending on the product. Always refer to the specific instructions provided with your repair kit.
Conclusion
Repairing your cracked car dashboard is a straightforward process when you follow these expert tips. With proper materials and techniques, you can restore your dashboard to its former glory. Have you ever tackled a dashboard repair? Share your experiences in the comments below!