Revive Your Orchids: 1 Spoon Secret for Year-Round Blooms!
Revive Your Orchids: One Spoon Secret for Year-Round Blooms
- Introduction
- Understanding Orchid Needs
- Preparing the Secret Solution
- Applying the Solution
- Common Mistakes
- FAQ
- Conclusion
Introduction
Picture this: your once-vibrant orchids are now struggling, with wilting leaves and sparse blooms. You’ve tried various methods to revive them, yet nothing seems to work. This can be disheartening for any plant lover. What if there was a simple yet effective way to give your orchids the boost they need, using just one spoonful of a common household item? Read on to uncover this secret and help your orchids thrive again.
Understanding Orchid Needs
Before diving into the secret solution, it’s important to understand what your orchids truly need to flourish.
1. Light Conditions
Orchids thrive in bright, indirect sunlight. Too much direct sun can scorch their leaves, while too little can stunt their growth. Aim for a well-lit spot where your orchids can soak up the right amount of light.
2. Watering Requirements
Overwatering and underwatering are common issues. On average, orchids prefer to dry out slightly between waterings. A good rule of thumb is to check the moisture level of the potting medium every week.
3. Humidity and Air Circulation
Orchids enjoy humidity levels of 50% or higher. You can increase humidity by grouping plants together or using a humidity tray filled with water and pebbles. Ensure there’s also adequate air circulation to prevent mold and pests.
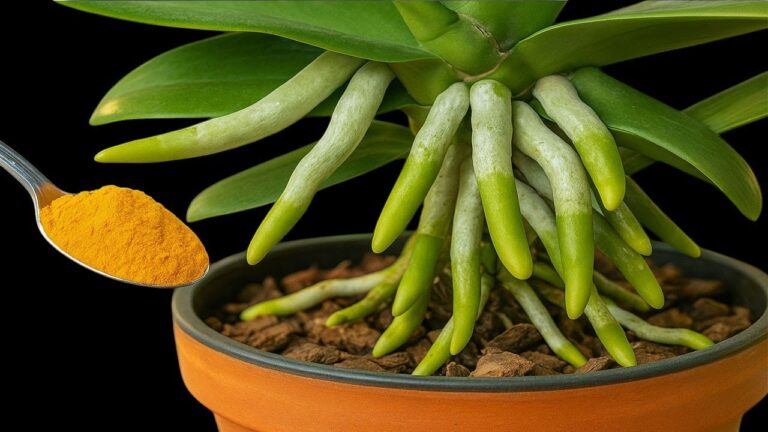
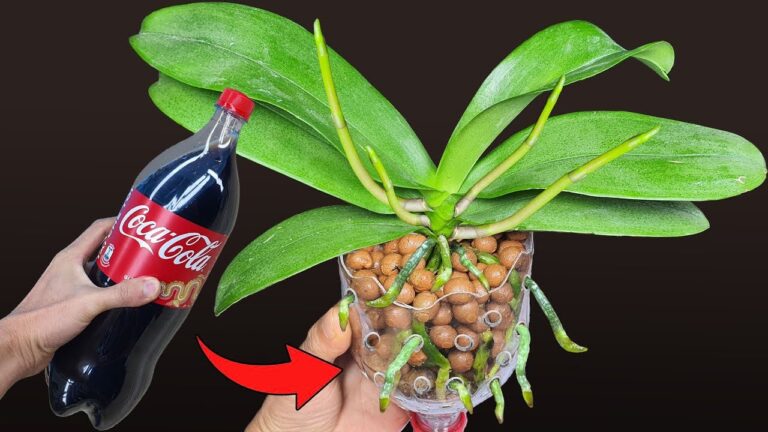
Preparing the Secret Solution
This simple solution is designed to provide your orchids with the nutrients they need to produce beautiful blooms year-round.
Ingredients
- 1 tablespoon of Epsom salt
- 1 quart of water
Steps to Prepare the Solution
- Combine the Epsom salt and water in a clean container.
- Stir the mixture until the salt is fully dissolved.
- Store the solution in a cool, dark place until you’re ready to use it.
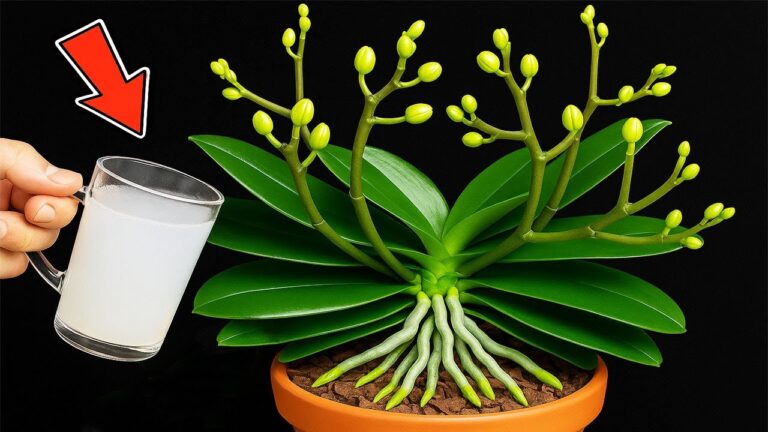
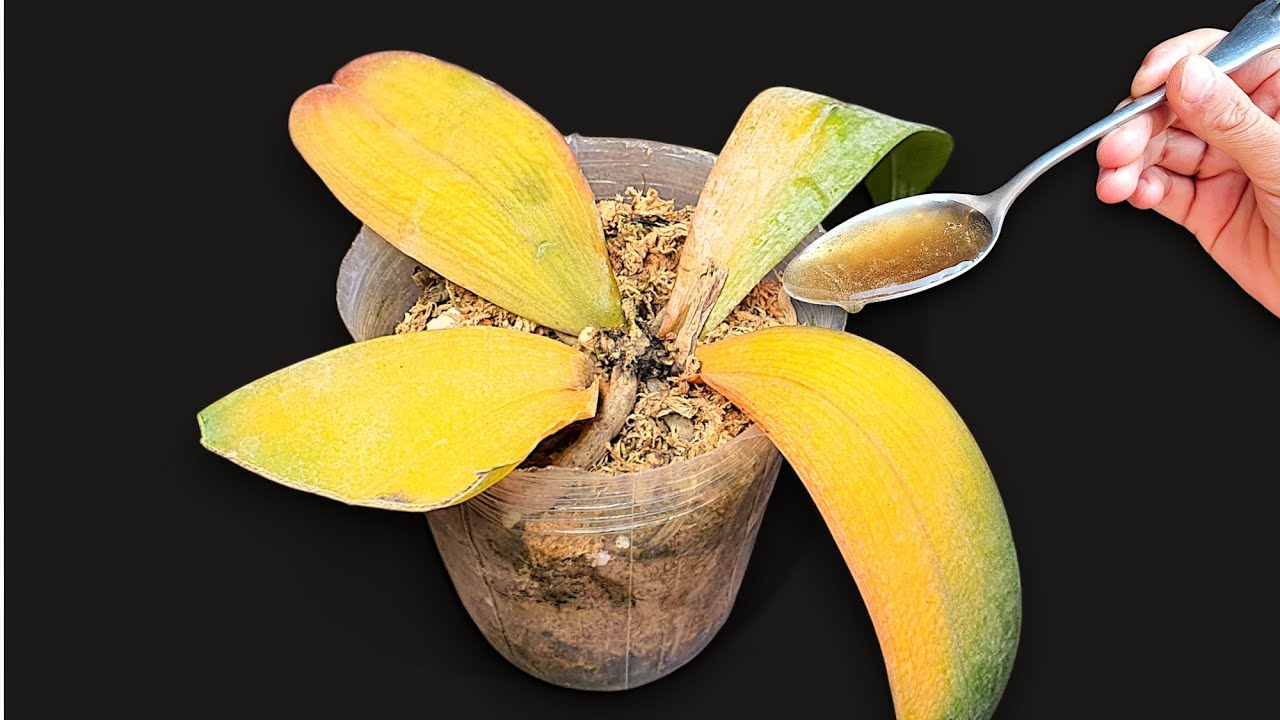
Applying the Solution
Now that your special solution is ready, it’s time to apply it in a way that maximizes its benefits.
1. Frequency of Application
Use the solution once a month during the growing season (spring and summer). In fall and winter, reduce applications to every six to eight weeks.
2. How to Apply
Water your orchids as you normally would, but replace about one quarter of the water with the Epsom salt solution. This allows the roots to absorb the nutrients they need without overwhelming them.
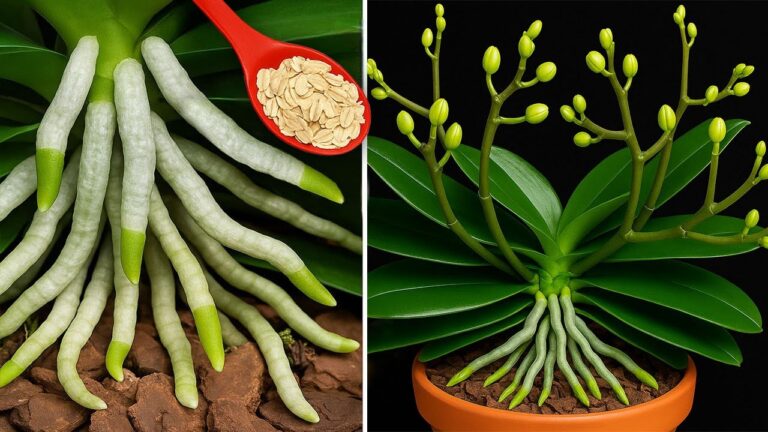
3. Monitoring Results
Keep an eye on your orchids over the following weeks. You should start to notice healthier leaves and new growth which indicates that your plants are responding well to the treatment.
Common Mistakes
Even with this helpful solution, there are some common pitfalls to avoid.
1. Overwatering
Many orchid owners unintentionally overwater, thinking that plants need more water than they do. Always check the moisture level first.
2. Neglecting Fertilization
While the Epsom salt solution provides magnesium, it shouldn’t replace regular fertilization. Use a balanced orchid fertilizer in addition to your DIY mixture.
3. Incorrect Light Exposure
Placing orchids in direct sunlight can burn their leaves. Instead, find a bright location that reduces harsh rays while providing adequate light.
FAQ
How often should I water my orchids? Orchids typically need water every 7 to 10 days, depending on humidity and indoor conditions.
Can I use regular table salt instead of Epsom salt? No, table salt can harm the plant; Epsom salt is specifically beneficial for orchids.
What should I do if my orchid isn’t blooming? Check for proper light, humidity, and nutrition; sometimes a little extra care is all it takes.
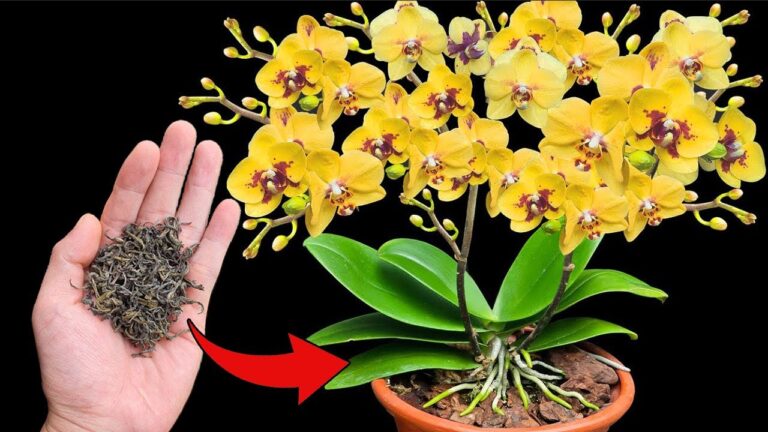
Conclusion
Reviving your orchids with a simple spoonful of Epsom salt can lead to lush growth and stunning blooms. With a little understanding and application, your orchids can become the showstoppers of your home. What techniques have you found helpful for keeping your orchids healthy? Share your experiences in the comments!